AQtive Guard sensors↑
AQtive Guard (AQG) sensors power in-depth cryptographic analysis of filesystems, applications, and physical and virtual networks:
- AQG Filesystem Scanner - Scans filesystems and container images to create a trace file containing cryptographic data.
- AQG Java Tracer - Logs cryptographic calls made by a Java Virtual Machine (JVM) and its associated Java application, generating a trace file with cryptographic data.
- AQG Network Analyzer - Analyzes cryptographic activity within network traffic and powers AQtive Guard analysis for all sensors and data sources.
For detailed information for using each sensor, refer to the corresponding section in this user guide.
Download an AQG sensor↑
You can download AQG sensors from the AQtive Guard UI.
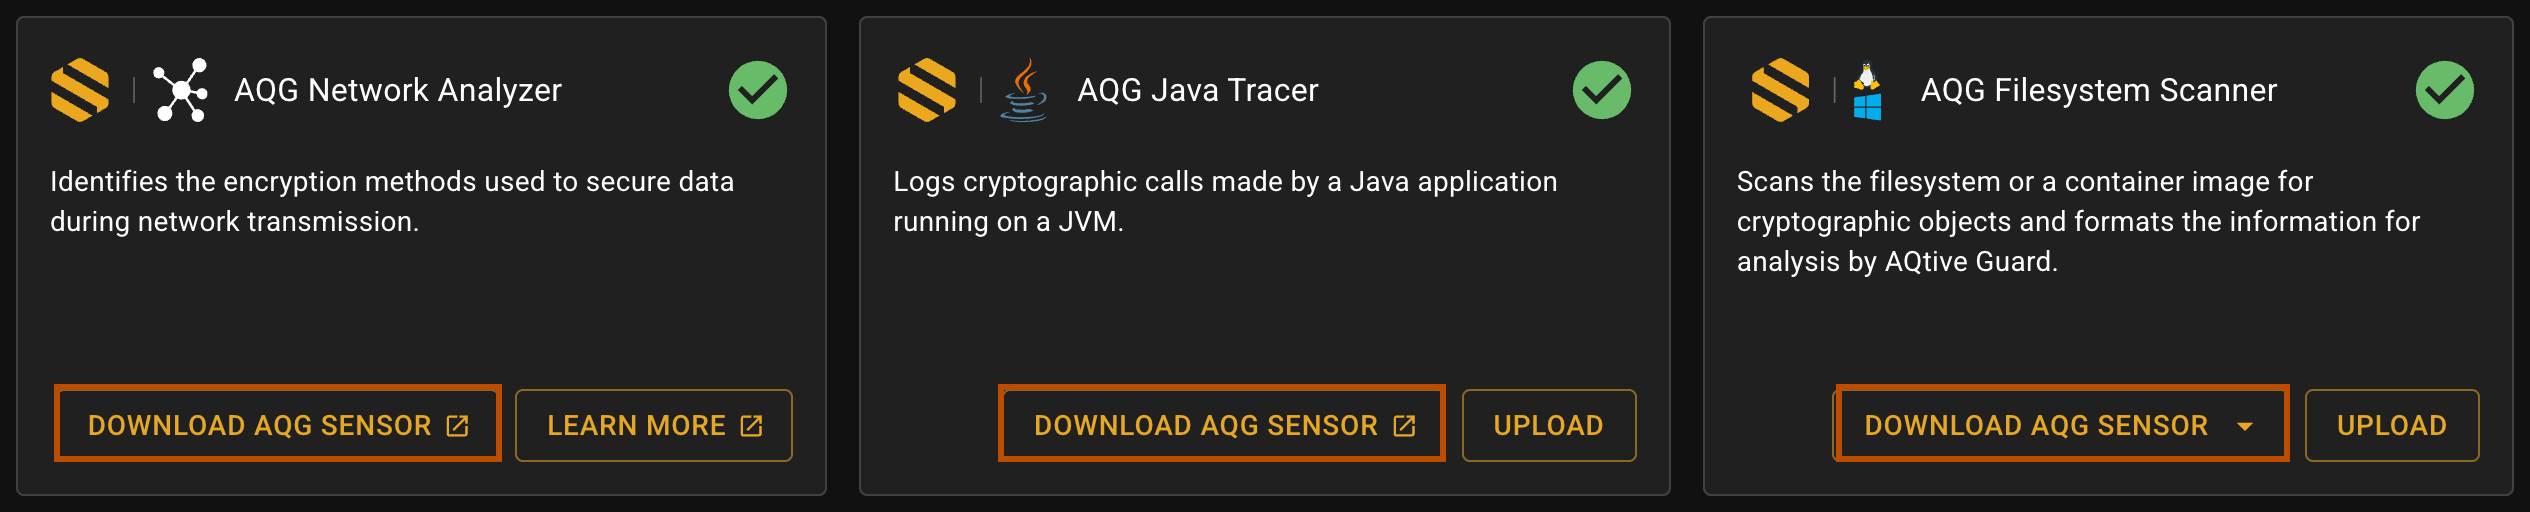
To download:
- Select Data sources from the main menu.
- In the tile for the desired sensor, select Download AQG Sensor.
Upload a trace↑
You can upload trace files from the following AQG sensors using the AQtive Guard UI or the API.
Upload a trace using the UI↑
To upload a trace file from the UI, follow these steps:
- Navigate to Data Sources from the main menu, then select Upload in the tile corresponding to the AQG sensor that generated the trace:
- AQG Filesystem Scanner
- AQG Java Tracer
- To upload the
.cstor.gztrace file, either:- Click in the target area and select the file from your local system.
- Drag and drop the file into the target upload area.
Note
The maximum size for the trace file is 4GB.
Upload a trace using the API↑
To upload a trace using the AQG API, you’ll need:
- An AQG uploader token. Refer to Settings for instructions to retrieve the token.
- cURL or another configurable HTTP client.
Upload command↑
To upload your trace file, construct a shell command using the following as an example:
export AQG_API_TOKEN=<uploader_token>
curl \
    -XPOST \
    -H "Authorization: Bearer $AQG_API_TOKEN" \
    -H 'Content-Type: application/jsonl' \
    -H "Content-Encoding: gzip" \
    --data-binary "@<path/to/example.cst.gz>" \
    "https://<aqg host>/agent/trace/v0?slotid=slot$(hostname)&sessionid=$(uuidgen)&assetid=$(hostname)"
Replace the following placeholders:
<uploader_token>- your retrieved uploader API token.<path/to/example.cst.gz>- the path to your trace file.<aqg_host>- the hostname of your AQtive Guard instance.
Important
The @ preceding <path/to/example.cst.gz> must be included in the file path. The @ prefix is necessary for cURL to properly interpret the contents of the data file. For example, a file located at home/other_dir/my_file.cst.gz becomes @home/other_dir/my_file.cst.gz.
The following values are all generated automatically based on the hostname and other system information:
slotid- Combines slot prefix with hostname:slot$(hostname). Acts as a container identifier for grouping related sessions. Example:slotserver-myserver-01sessionid- A UUID (Universally Unique Identifier). Must be unique per session to avoid data collisions. Example:550e8400-e29b-41d4-a716-446655440000assetid- Typically, the hostname of the machine. Uniquely identifies the device/system generating events. Example:myserver-01.
Tips
- You can run the export command independently and then use multiple cURL invocations to upload multiple files as long as the same shell session remains open.
- Trace names aren’t explicitly specified in the cURL command, but using unique and descriptive names will help you identify and organize trace files.